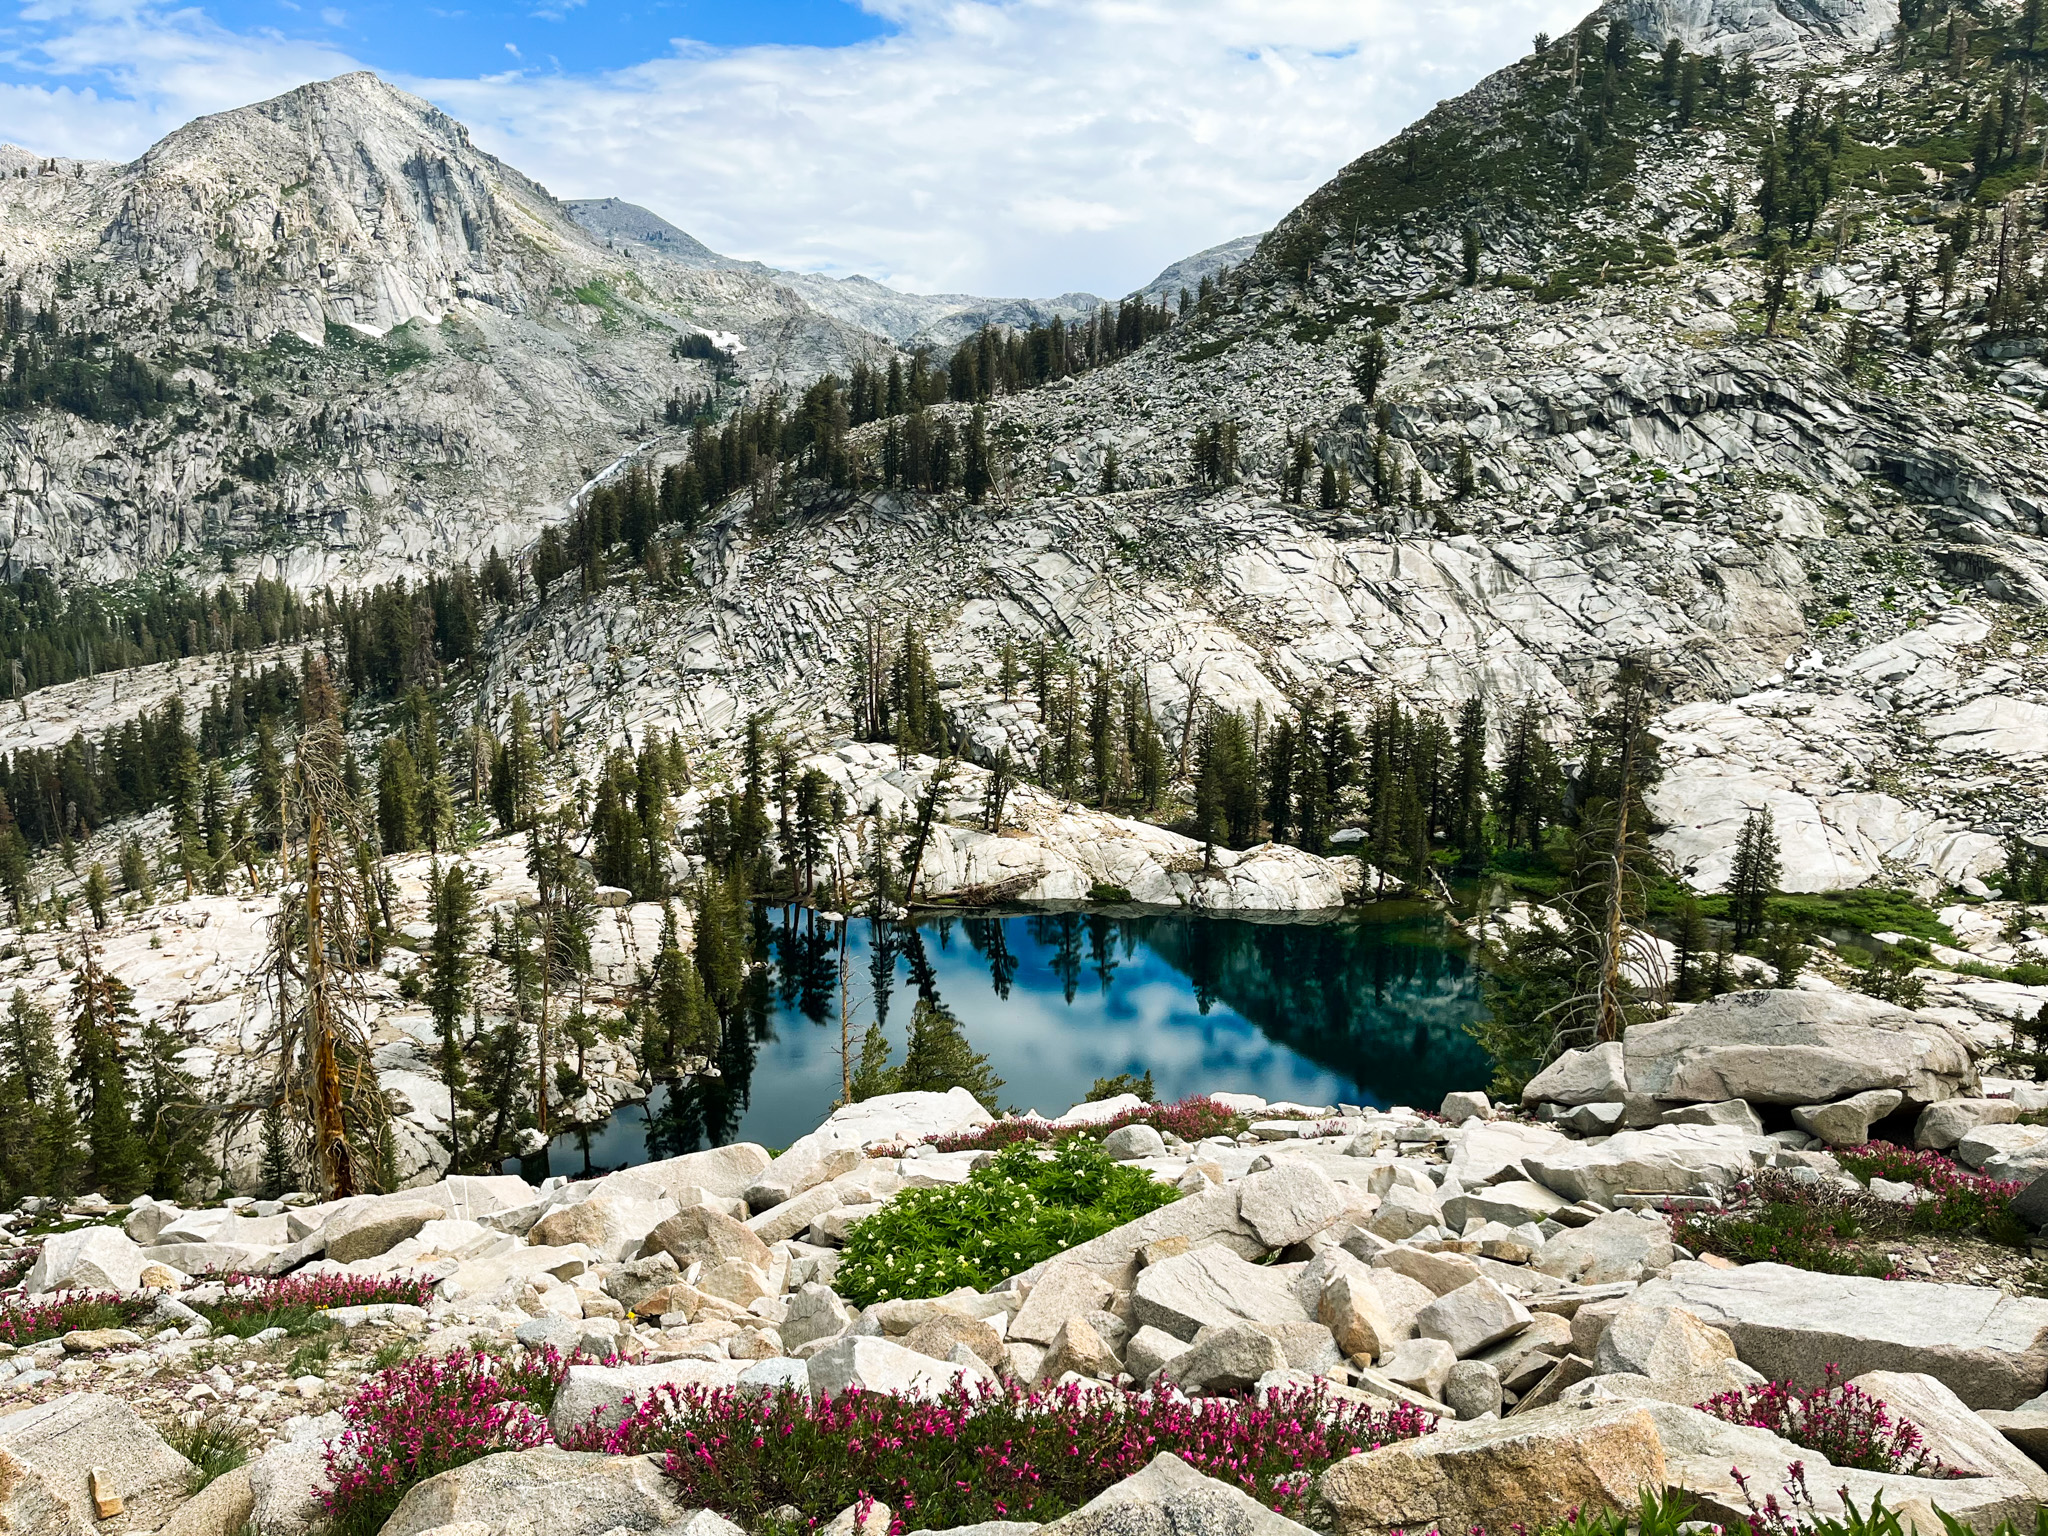

LAKES TRAIL TO PEAR LAKE, SEQUOIA NATIONAL PARK
Where: Central California (closest city: Fresno)
Why Go: Visit 4 pristine alpine lakes, perfect for swimming on hot summer days
Hike Stats: 12 miles and 3,100 feet elevation gain (shorter and longer variations possible)
How Long to Visit: 1 – 3 days (day hike or camp overnight)
When to Go: Spring through fall
What to Bring: Downloaded trail maps, day hiking or backpacking gear, permit (if camping)
The Lakes Trail to Pear Lake is one of the most popular hikes in Sequoia National Park. After visiting for myself I can confirm that it lives up to the hype. The trek can be done in a day by fit day hikers, but if you snag a coveted permit you’ll have the luxury of camping by the lakes. The trail passes through 4 lakes (Heather, Aster, Emerald, and Pear), each with unique colors and landscapes.
The moderate difficulty and length of this trek make it perfect for beginner backpackers! Whether you want to camp overnight or do a day hike, I’ll share logistical details that will help you plan a stress-free trip to the Lakes trail.
I’ll also provide my Pear Lake backpacking trail report. Spoiler alert: it involves an unexpected thunderstorm and me making a soggy hike back to the car alone in the dark.
If you need a refresher, check out my guide to day hiking and beginner’s guide to backpacking. Also for more places to explore in California, browse my California destination guides.
Related Articles:
Alta Peak Trail (Sequoia National Park)
Hamilton Lake (Sequoia National Park)
Sequoia Lakes Trail Backpacking Trip Report

Lakes Trail to Watchtower
I started my trek on the Sequoia Lakes Trail from Alta Meadow, where I’d camped the night before. For those starting from the Wolverton parking lot, the Lakes Trail guides you all the way to its endpoint at Pear Lake.
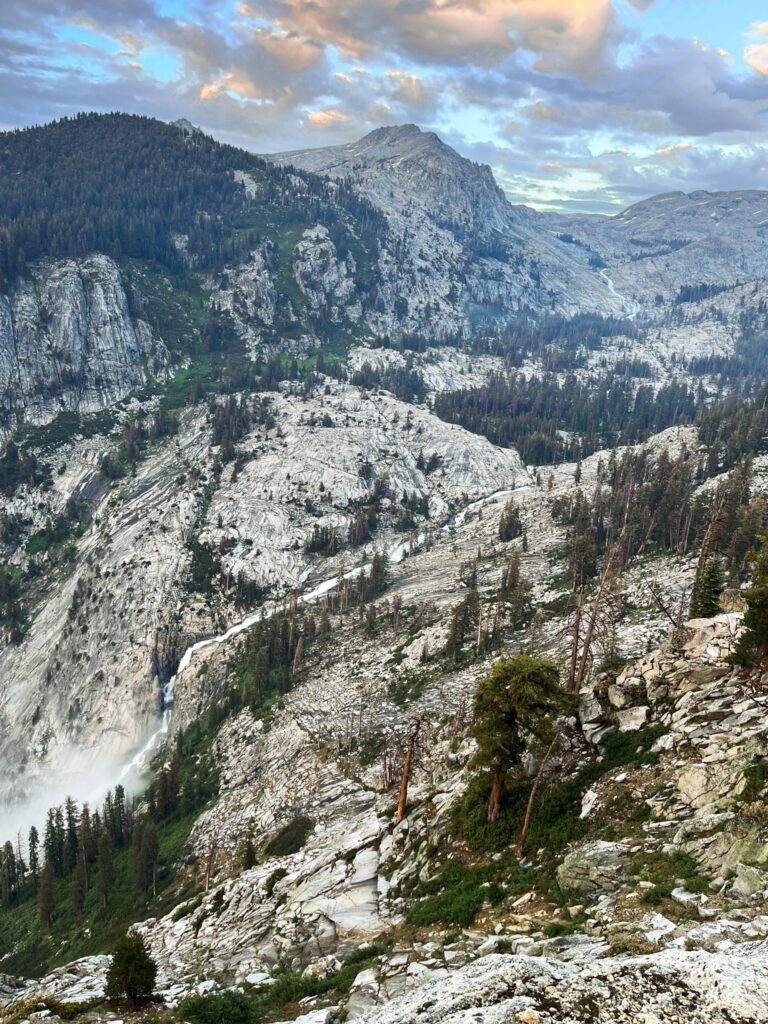
Approximately 2 miles in the trail splits, with the option to turn left for the Watchtower lookout point or keep to the right to continue through the forest. The Watchtower trail might be icy if you’re hiking early or late in the season, but if conditions are safe then I recommend exploring it because the views are unparalleled.
The Watchtower is a rocky outcrop perched on a ledge overlooking the canyon below. Surprisingly I also had excellent phone service at the Watchtower, which can’t be said for the rest of the trail.


Watchtower to Lakes
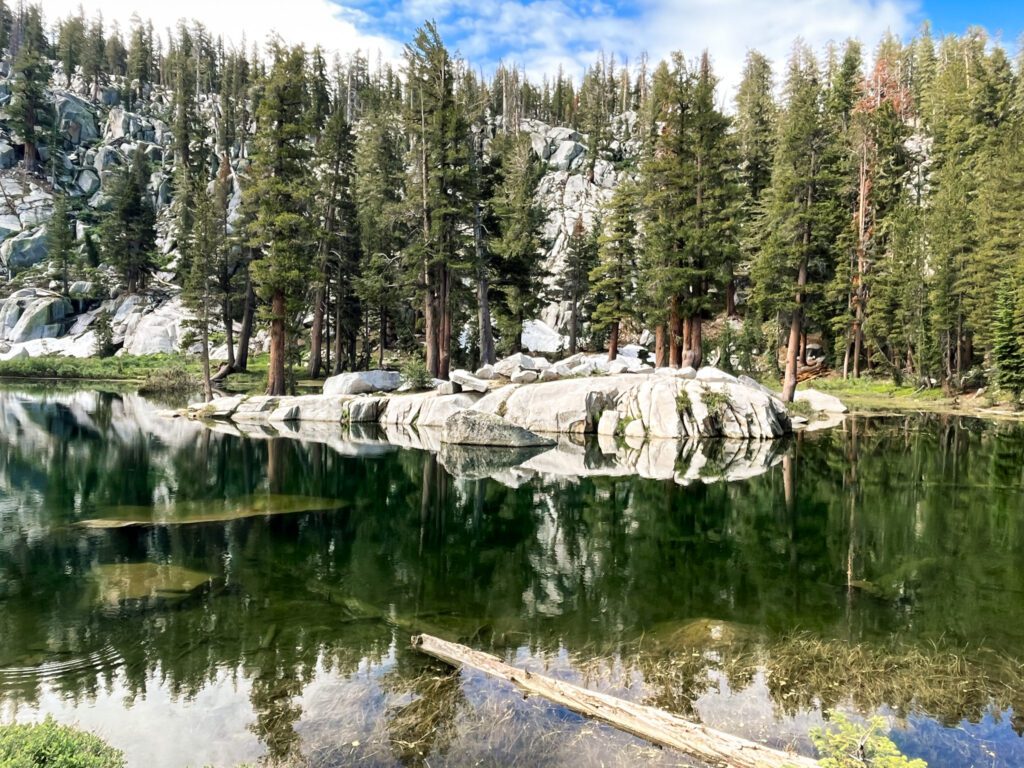
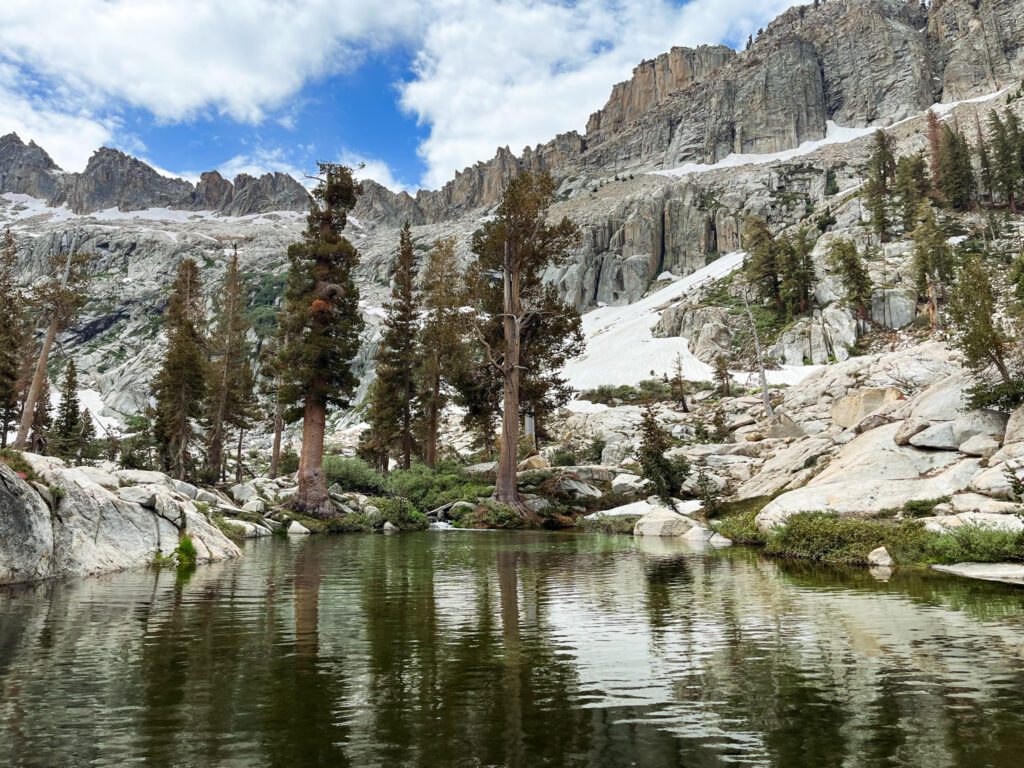
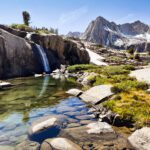
From the Watchtower I climbed along the ridge, watching the scenery become increasingly rugged. Soon after I arrived at Heather Lake. Although camping is not permitted here, its emerald green waters and shady forest are a nice spot to cool off.
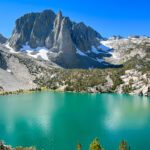
I continued to ascend from Heather Lake to reach an impressive aerial view of Aster Lake. The lake resembled a literal jewel cradled by conifers, wildflowers, and towering mountain peaks. This was my favorite view of the entire hike!
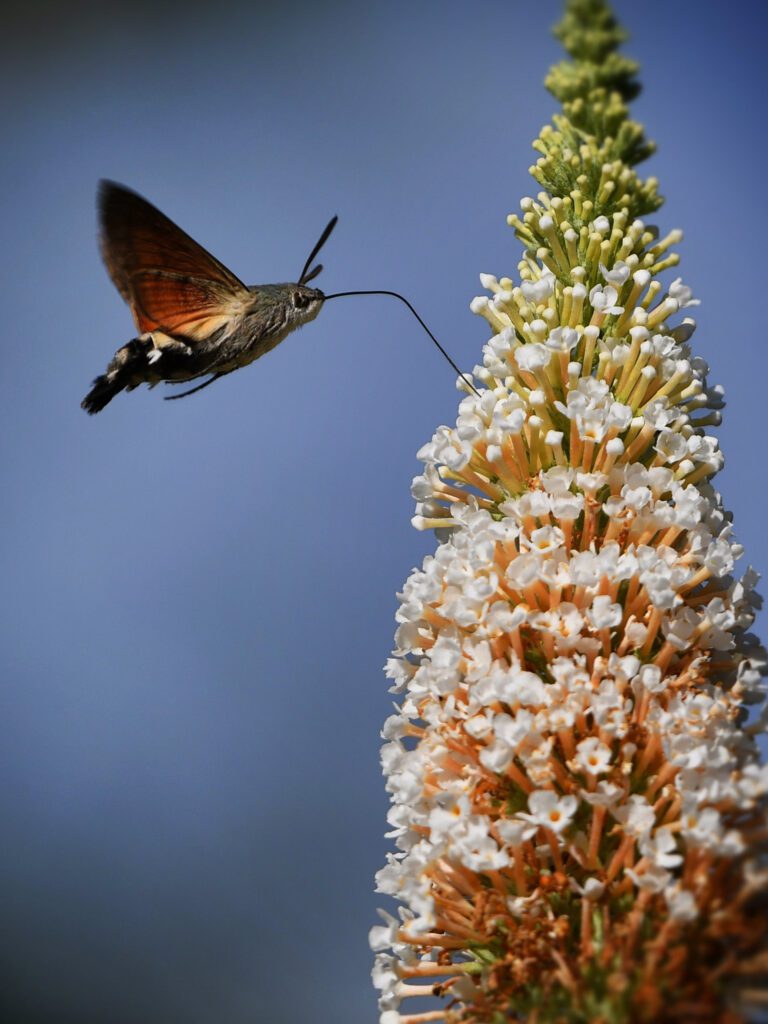
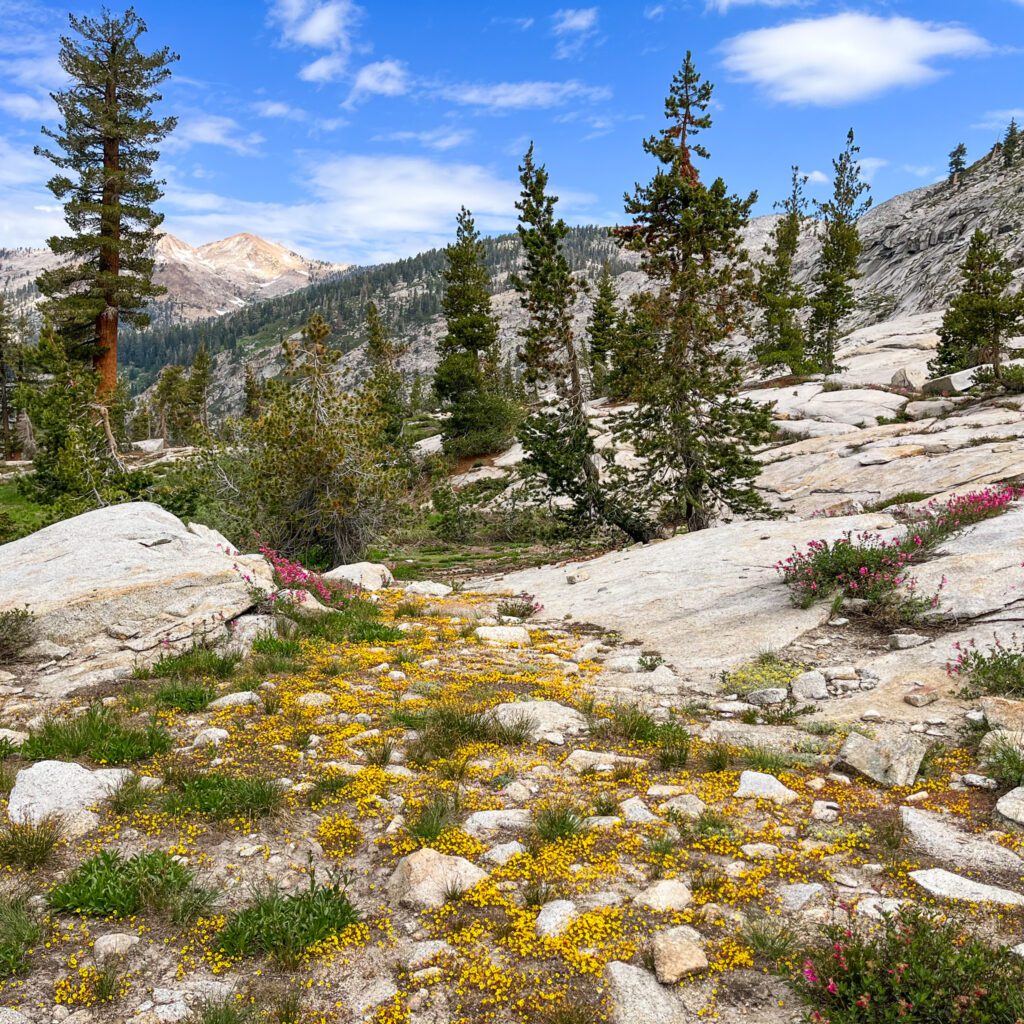
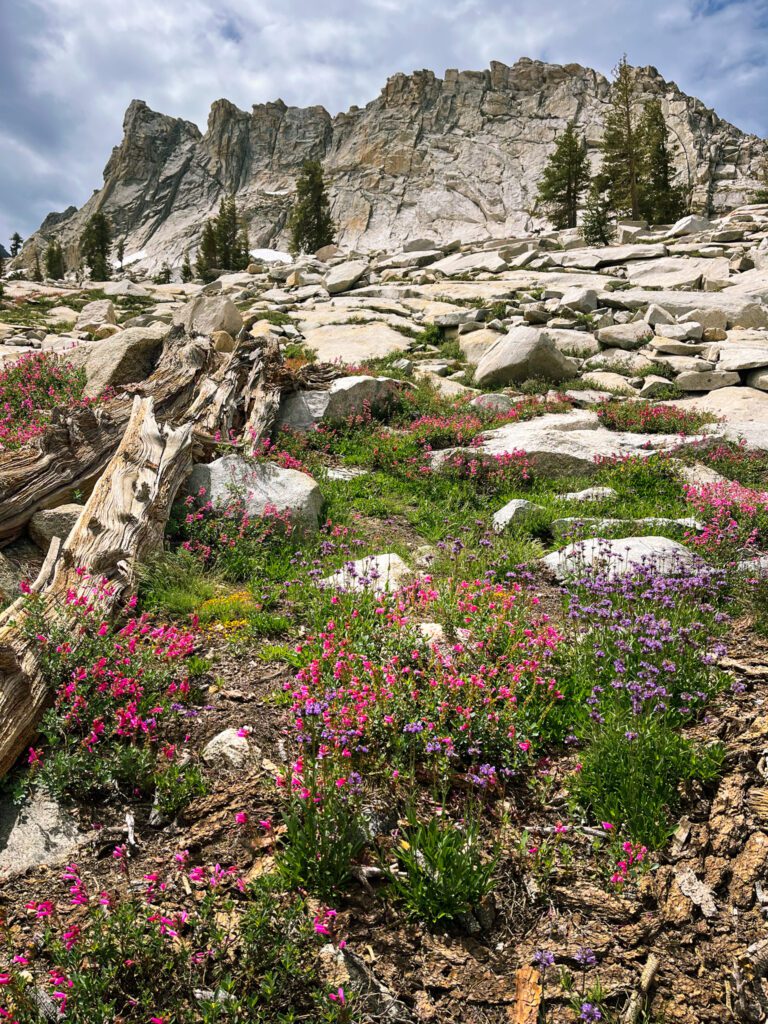
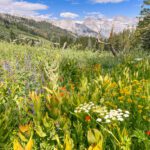
Just beyond Aster Lake lies Emerald Lake and its accompanying campground. One more mile from here and I reached my final destination, Pear Lake. The trail between the lakes was rocky and arid, but surprisingly there were dense patches of wildflowers growing on each side of the trail. I even saw what I thought were baby hummingbirds fluttering about. I later discovered that they were sphinx moths!



Pear Lake Camping
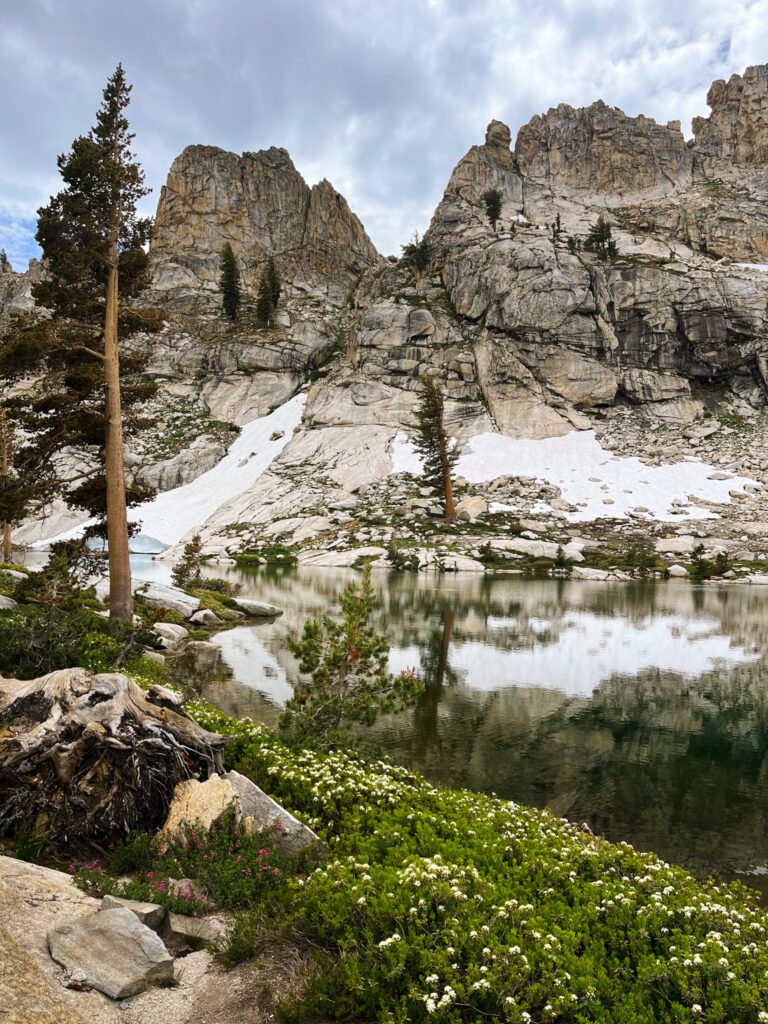
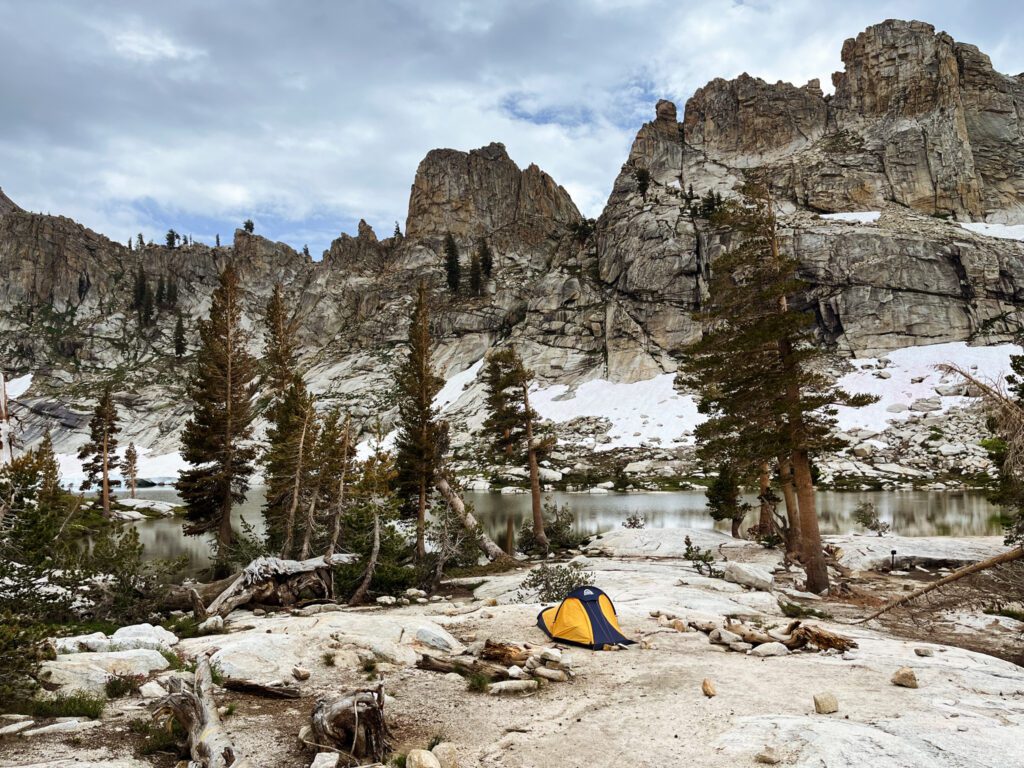
Upon reaching Pear Lake I pitched my tent, wary of the fact that no other campers had arrived yet. The mosquitoes at Pear Lake were relentless, forming swarms that attacked both my backpack and my body. Thankfully I bought a mosquito head net for this trip. I watched nervously through the mesh as 20 mosquitoes latched onto it, attempting to reach my face.
To make matters worse, despite a forecast for clear and sunny weather, the sky soon became overcast. Rain started to fall, intensifying into a torrential downpour accompanied by thunder. I spent the next few hours huddled in my tent. Unfortunately my tent, which I had purchased while backpacking in South America, was of questionable quality. It didn’t stand a chance against the pounding rain and started to flood.
Realizing the situation was unsustainable, I weighed my options. I knew I faced a wet, sleepless night if the rain continued. However the sun was setting soon, and I wasn’t too enthused about hiking 6 miles back to my car. I’d have to haul my sopping wet tent, and I was already exhausted after covering 40 miles in the past 3 days.


Hiking in the Rain and the Dark
Ultimately I couldn’t stand the thought of a miserably wet night and decided to bail out of my Pear Lake camping plans. I opened my tent, seeing that a few more hikers had arrived and were huddled under the awning of the outhouse. I quickly strapped my wet tent to my backpack and booked it down the mountain. As I passed by Emerald Lake I wondered whether it would have been better to camp there instead of Pear Lake, as the campsites were forested and more protected from the elements.
I wearily watched the sun set from the Lakes trail and continued hiking another 2 hours in the dark. Upon finally arriving at my car, I scratched my plans to sleep in the car until the next morning. I gave in to my craving for a hot shower and drove 4.5 hours straight home, arriving in the early hours of the morning.


Although I already knew to expect unpredictable weather in the mountains, this experience taught me another crucial lesson: invest in a high-quality tent. A cheaply constructed tent not only guarantees an uncomfortable night, but also exposes you to serious risks such as hypothermia. I might have been able to camp at Pear Lake despite the rainstorm if I were backpacking with a sturdier tent!
Trip Planning Information
Sequoia Lakes Trail Map and Information
The Lakes Trail to Pear Lake is moderately strenuous. It can be completed in a day by experienced hikers, or as a more leisurely backpacking trip. The trail is very well-maintained and easy to follow.
In total, the Pear Lake hike is 11.9 mi and 3,080 ft elevation gain out and back. This route starts from the Wolverton parking lot and includes the Watchtower lookout point. For a shorter hike, visit only Heather Lake (8 mi round trip).
If you’re looking for an adventure, check out Moose lake, a ~4 mi round trip from Pear Lake. There is no official trail to get there and you must be comfortable navigating cross-country.

Lakes Trail Hike Useful Tips
- Limited phone service. Expect limited to no phone service on the road to the trailhead and on the trail itself. Download Google Maps of the area and hiking trail GPS information in advance.
- Altitude awareness. Altitude sickness can occur above 8,000 ft elevation. Pear Lake elevation is ~9,550 ft. Take it slow, stay hydrated, and turn around if needed.
- Beat the heat. Start hiking early, especially in summer. Much of the trail is not shaded and can get hot.
- Leave no trace. Let’s keep this place pristine!
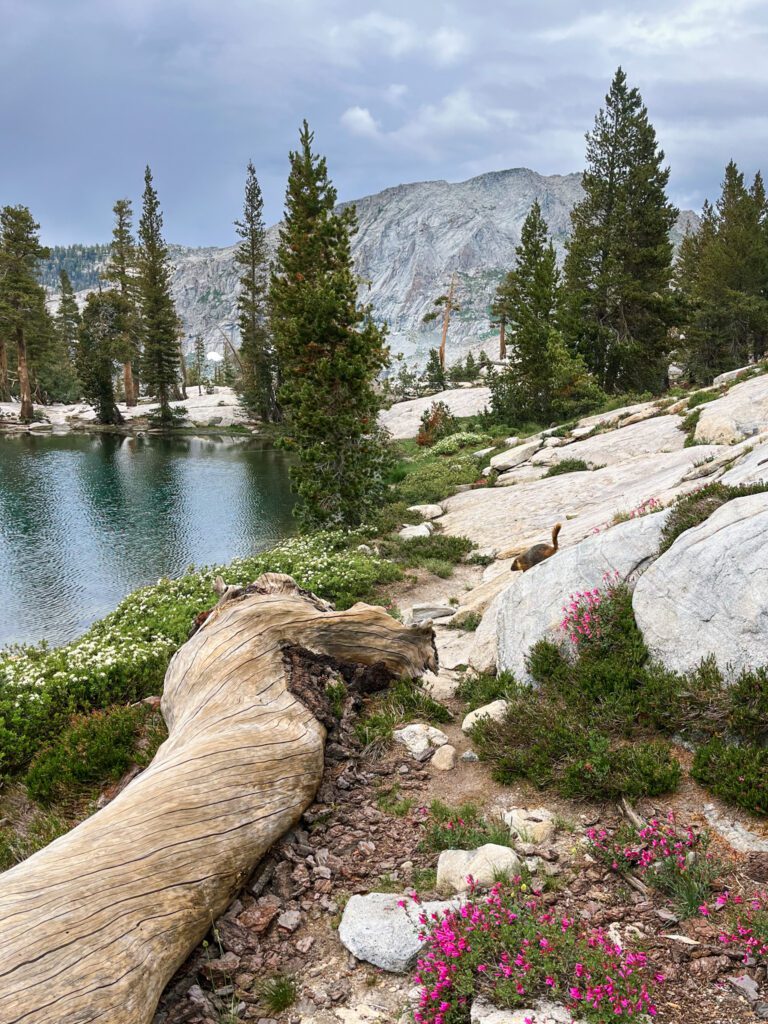
- Marmots. They are cute, but protect your car and gear from them. From spring to mid-summer they are known for chewing through radiator hoses and car wiring. Use a tarp to protect your car; the ranger station may have some to lend to you. Marmots also live at Pear Lake, so if you’re camping, store all gear inside your tent.
Sequoia National Park Weather and When to Go
Plan your visit between late spring and early fall. Depending on the year, the trail may have ice and snow from late October into July. Check recent trail reports on AllTrails and call the Sequoia National Park ranger for current conditions.
Temperatures on the trail in summer are very hot during the day and cool at night. If you’re hiking in fall, check local conditions first. Fall wildfires are common.
In winter, temperatures are very cold and roads within the park may close. Chains may be required to drive in Sequoia National Park in winter.

Sequoia National Park Information
Sequoia National Park entrance is $35 per car, paid at the kiosk on the road leading to the park. You can use your US National parks pass or purchase one once you arrive for $80.
There are no specific park hours, and dogs are not permitted on the trails.
Sequoia Lakes Trail Permits
If you’re doing a day hike to Pear Lake, you don’t need a permit.
If you’d like to camp overnight on the Lakes Trail, a wilderness permit is mandatory. From May 24 through September 28, overnight visitors are limited to 30 people per day. 20 permits are released online 6 months in advance. 10 permits are available on a walk-up basis. You can obtain a walk-up permit from Lodgepole Visitor Center starting from 1:00 PM the day before your trip begins.
To reserve your permit in advance, visit the reservation site and select “Lakes Trail”. Have backup dates in mind and consider going on a weekday or during shoulder season due to the Lake trail’s popularity.
Pick up your permit at the Lodgepole Visitor Center (open 8 AM – 5 PM) before your hike. Ask the rangers for advice about your planned route and current conditions, they are very helpful!

Sequoia National Park Directions and Parking
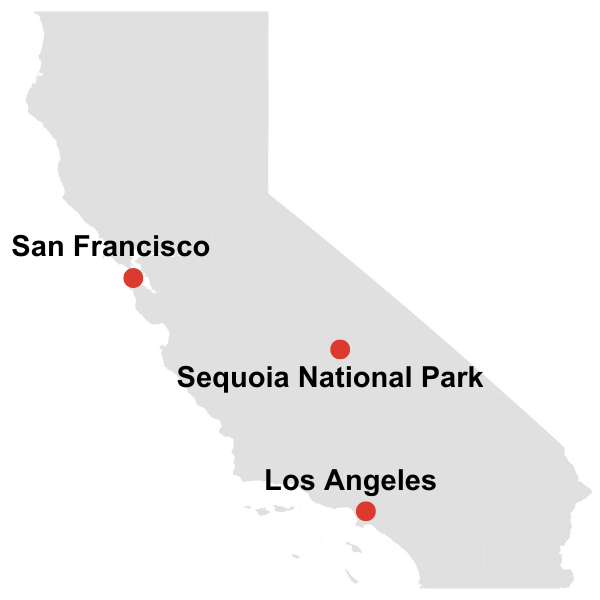
Sequoia National Park is accessed from Generals Highway and is on the Western side of California’s Sierra mountains. The closest city is Fresno (2 hr). The trailhead is a 4 hr 20 min drive from Los Angeles or from the Bay Area.
The roads in the park are paved but may close seasonally or for construction. Check current conditions before heading out.
Navigate to the parking lot at “Wolverton Picnic Area”. The parking lot is for both day and overnight use and has restrooms. Bear boxes are available; avoid leaving scented items in your car. Also arrive early to ensure a parking spot.

What to Bring When Hiking the Lakes Trail to Pear Lake
For a full list of what to bring, refer to my complete day hiking and backpacking checklists. For this hike I would stress the following:
Lakes Trail Day Hike Items
- Trail Map. Download the map for offline navigation.
- Day Hiking Backpack or Backpacking Pack (Women’s, Men’s). Invest in a high-quality and durable pack that will last for years!
- Hiking Shoes. Women’s, Men’s. I do not recommend running or general athletic shoes for this hike. Their lack of traction will cause you to slip.
- Hiking Socks. Women’s, Men’s. Wool is essential to keep your feet dry and blister-free.
- Hiking Pants. Women’s, Men’s. I love these pants because they are lightweight, durable, and have pockets.
- Hiking T-Shirt. Women’s, Men’s. Quick-drying T-Shirts are ideal. Tank tops will cause your skin to rub uncomfortably against your backpack straps.
- Lightweight Long-Sleeve Shirt. Women’s, Men’s. This is the best way to protect yourself from the sun and mosquitos.
- Swimsuit and Microfiber Towel. You’ll want to swim in these lakes!
- Trekking Poles. These will save your knees on descents and provide stability when crossing streams and rocky terrain.
- Hat. Sections of this hike are very exposed, so protect yourself from the sun.
- Sunscreen.
- Lip Balm with SPF.
- Mosquito spray. I love this all-natural one because it’s very effective and doesn’t contain harmful chemicals.
- Mosquito head net. Mosquitos can be unbearable at the lakes in some seasons.
- Water in a Reservoir or Bottle. Bring a lot of water – this is a long and hot hike.
- Water Filter. Will enable you to carry less water.
- Electrolytes. These help prevent dehydration and fatigue, especially on strenuous hikes in hot weather and high elevation.
- Portable Charger and Cable. It’s good to be prepared if your phone battery dies.
- Headlamp and Spare Batteries. Whether or not you plan to camp, this is a safety essential.
- Garmin inReach (optional). Sends your GPS coordinates and calls for help in emergency situations.
- First-Aid Kit
- Rain jacket. Women’s, Men’s. Mountain weather can be unpredictable, and you don’t want to get soaked in a sudden downpour. A rain jacket also doubles as a windbreaker.

Lakes Trail Camping Items
- Bear canister. Bear canisters are required for camping in this area.
- Tent
- Sleeping Pad
- Sleeping Bag and Compression Sack
- Stove
- Puffy Jacket. Women’s, Men’s. It gets cold at night.
Pear Lake Trail Camping Sites (for Backpackers)
Camping is not allowed along the first 5 miles of the Lakes trail. At mile 5 you’ll reach Emerald Lake, which has forested campsites. At mile 6 you’ll reach Pear Lake, which has exposed campsites. Both lakes have pit toilets, but bring your own paper.
Backpacking Water Sources
If you’re hiking with a filter there are many places to refill, but some water sources prior to the lakes may dry up late in the season.

Where to Stay
Prior to hiking the Lakes trail, it’s a good idea to stay nearby the night before to acclimate to the altitude and ensure an early start on the trail.
Sequoia National Park Camping
There are many campgrounds in Sequoia National Park that are open seasonally. The closest ones to the Lakes Trail hike are Lodgepole and Potwisha campgrounds. You can reserve on recreation.gov up to 4 months in advance. Reserve early, as spots go quickly in the high season.
Accommodation near Sequoia National Park
Mid-range options:
- Cozy Cottage (Miramonte)
- Lazy J Ranch Motel (Three Rivers)
- Rustic Rooms by Kings Canyon & Sequoia National Parks (Squaw Valley)
The only place to stay that’s within the park itself is Wuksachi Lodge, which is perfect if you’re looking to splurge!
Things to Do Near the Lakes Trail Hike
Check out the Sequoia groves in the park! The General Sherman tree is the largest tree on earth by volume, at over 36 ft (11 m) in diameter. The giant sequoia trees can live to be up to 3,000 years old and are native only to California. This is the best spot to get your quintessential Sequoia National Park photos.
For more hiking, check out the trails to Alta Peak or Hamilton Lake.

Thanks for reading, and I hope this guide helps you plan your trip to Sequoia’s Lakes Trail! Have you ever had a hiking or backpacking mishap due to inclement weather? Leave your thoughts and questions in the comments, I’d love to hear from you.
For more places to explore, check out my guides to other hikes and backpacking trips in California.
Confirm all logistical and safety information before your trip. Also If you buy through links on this site, I may earn an affiliate commission. Thanks for supporting me in creating free content for you to enjoy!
Save this post for later and share on Pinterest!
HIKING TRIP RESOURCES
Head to my Travel Resources Page for more recommendations.
Hiking Checklist and Backpacking Checklist. Make sure you have everything you need before heading out.
Viator and Get Your Guide. If you don’t want to hike or camp alone, there are various organized tours you can join, ranging from day trips to multi-day excursions.
Booking.com. This is my go-to platform for booking accommodation since it consistently gives me competitive prices and additional discounts based on usage.
LifeStraw. This easy-to-use water filter guarantees that you always have access to clean drinking water.
Travel Credit Card. Earn substantial points for travel-related expenses and a very generous bonus when opening an account.
Comments


Hi, I’m Kristina! I’m a solo female traveler sharing my personal experiences around the world. Authentic travel is important to me; in my destination guides I emphasize not just the most spectacular sights but also the local stories and history.
Other things I’m passionate about are discovering hidden gems, budget-friendly travel, and hiking and backpacking. My goal is to show you how to seek adventurous experiences for yourself!

Leave a Comment